Heavy legs, swollen, shaped like tree trunks? What if massaging them could help? Here are some leg self-massage suggestions to bring back a pleasant feeling of lightness. Practise them in every season, as often as you like!
How to massage your own legs: the order to follow
For a leg self-massage, the rule is simple: always start at the bottom and work your way up. Begin with your feet, using reflexology and then tennis balls. Move on to your ankles, then your calves and the back of your knees. Finish with your thighs using the pinch-and-roll technique.
Get comfortable, sitting on the floor or on a chair, and have an oil ready for the pinch-and-roll. Always start with light pressure, which you can then increase if you wish, without ever forcing.
Leg self-massage: foot reflexology
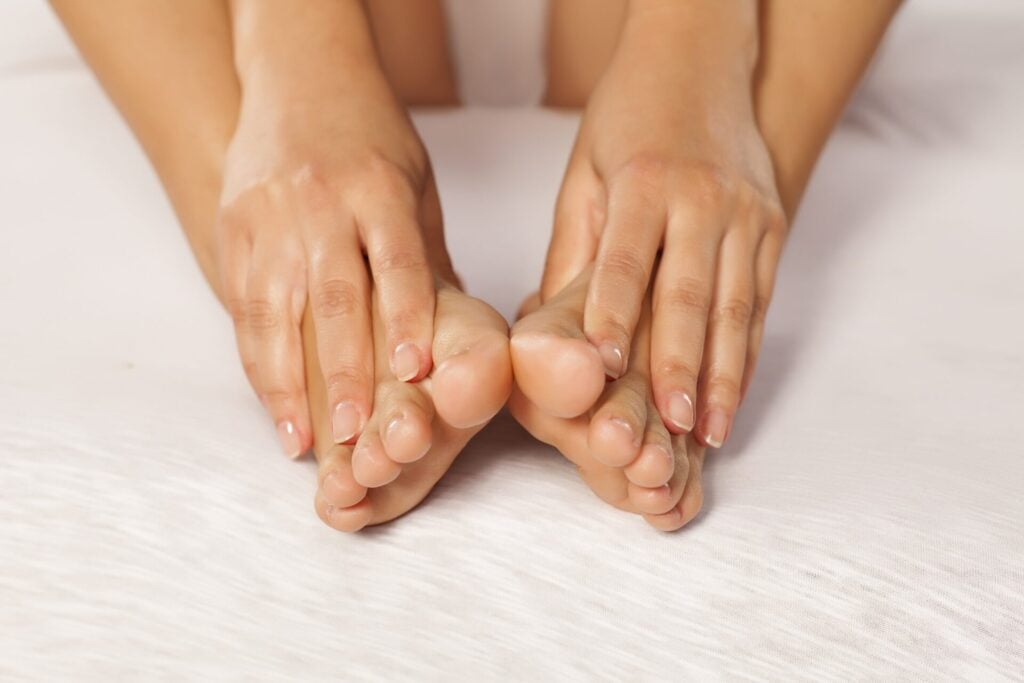
To lighten your legs, you should always start “at the bottom” and finish “at the top”. Logically, that means starting by massaging your feet! So here is a relaxing technique inspired by foot reflexology.
- Sit comfortably on the floor with your feet in front of you.
- Using your thumbs, find the junction between the big toe bone and the second toe bone on each foot. It’s very easy: it sits on the top of the foot. Simply follow the two metatarsals (the bones that extend down from the toes) and find where they meet.
- Once you’ve found these points, massage them with your thumbs. Start with gentle pressure, then gradually increase it.
Self-massage: with tennis balls
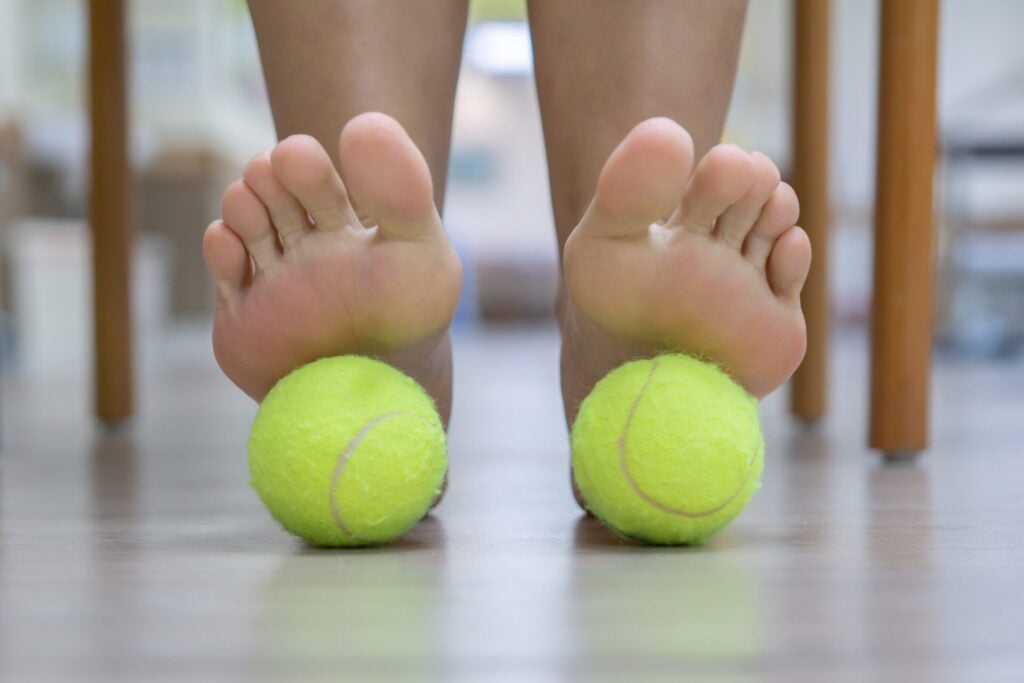
Let’s stay with the feet, since almost everything starts there! Remember that this is where venous return comes into play, meaning the flow of blood back up to the heart. And when it doesn’t work properly, hello heavy legs and water retention, the cause of water cellulite…
- Sit on a chair with your back straight and your hands on your knees.
- Take two tennis balls and place one under the arch of each foot.
- Roll the balls under your feet, stimulating the arches, soles and heels.
This very simple, almost playful and intuitive technique lets you massage the whole underside of the foot gently. It’s also a good way to work gently on ankle flexibility.
Self-massage: ankle stimulation
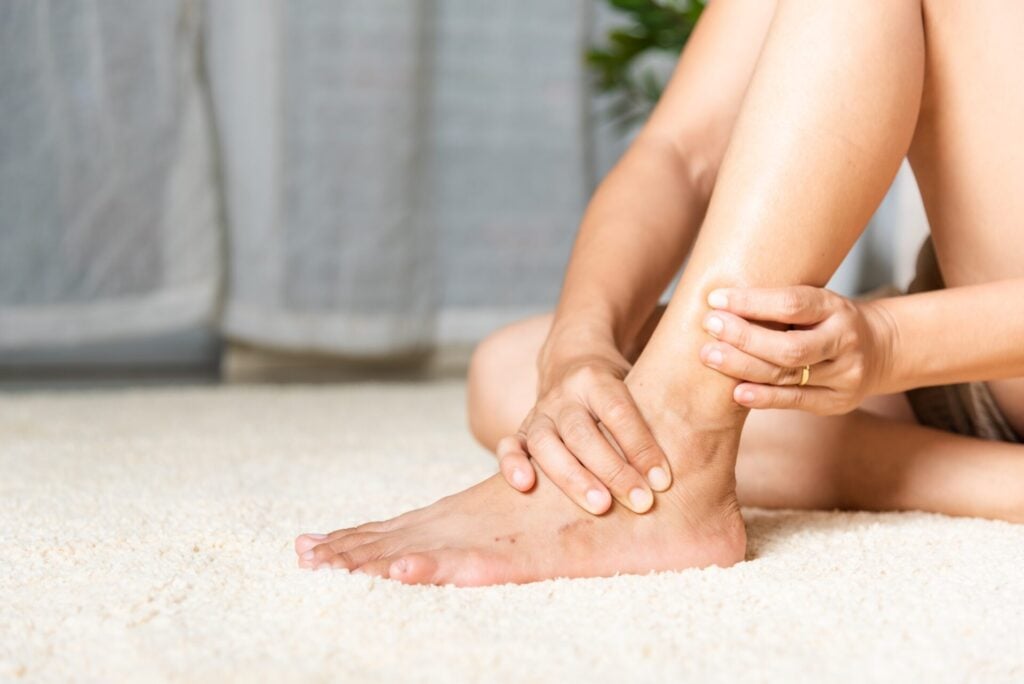
And since we’re talking about ankles, let’s spend a little time on them! A good leg self-massage also involves stimulating them gently.
- Sitting comfortably, hold your foot in your hands and stretch it from side to side and back and forth, without forcing.
- Then hold your leg just above your ankle. Let your foot hang loosely (as if it were “dead”) and shake it to fully relax the ankle. Do this on each side.
- Using your fingertips, massage all the way around the ankle with small circular movements.
- Finally, take inspiration from a point used in traditional Chinese medicine. Measure one hand’s width above the inner malleolus (the bony prominence on the inside of the ankle). At this level, apply small fingertip presses, pressing and releasing quickly.
Self-massage: knee pumping and calf drainage
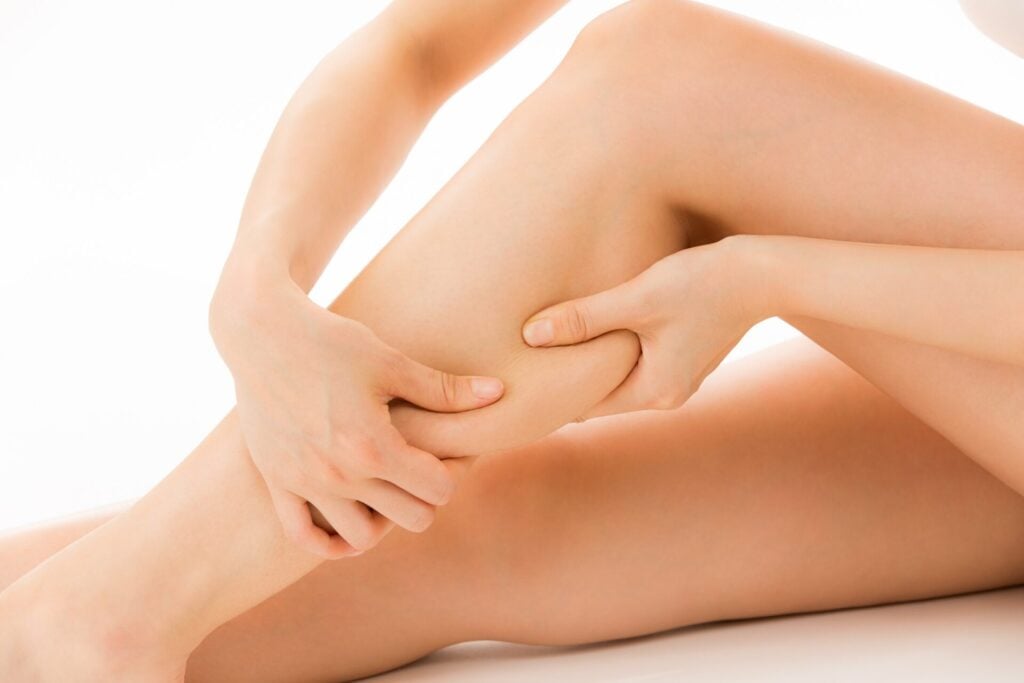
To carry on with the calf, you can take inspiration from lymphatic drainage (see also our tips for your legs). This massage requires precise, specific movements that only qualified professionals master. You can, however, reproduce certain movements, always directed towards the popliteal lymph nodes (behind the knees).
- Start with a kind of pumping motion at the back of the knee. Place your fingers flat behind the knee and apply gentle pressure, around 5 times, in the spirit of lymphatic drainage.
- Using both hands, then knead your calf from bottom to top. It should be completely relaxed, with no muscle tension. Kneading helps relax the tissues and brings a feeling of relaxation.
- Next, perform smoothing strokes from the ankle to the knee, along the sides of the leg as well as along the shin and calf. Smoothing, for its part, follows the direction of lymphatic return, towards the back of the knee.
- Finally, repeat the pumping motion at the back of the knee (5 times).
- Do the same on the other leg.
Self-massage: pinch-and-roll on the thighs
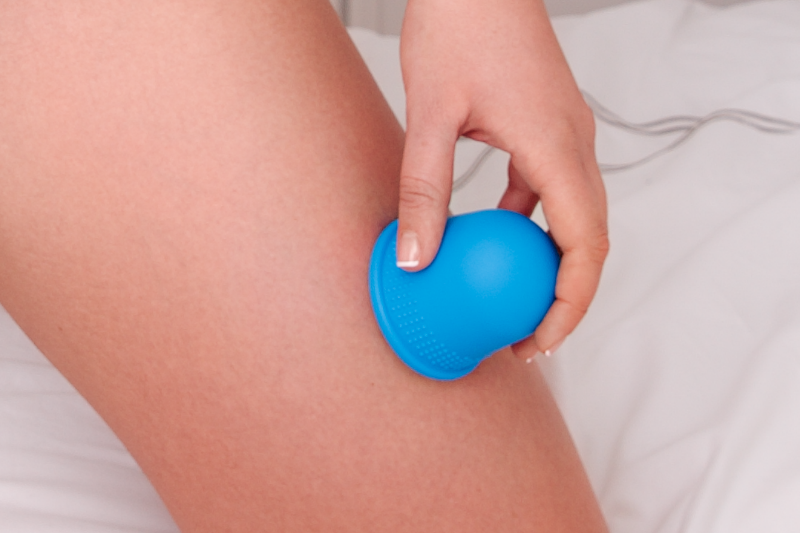
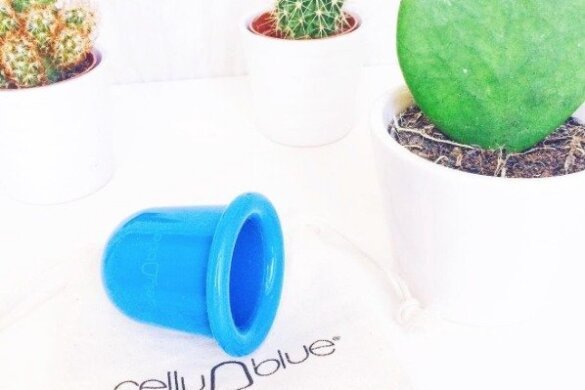
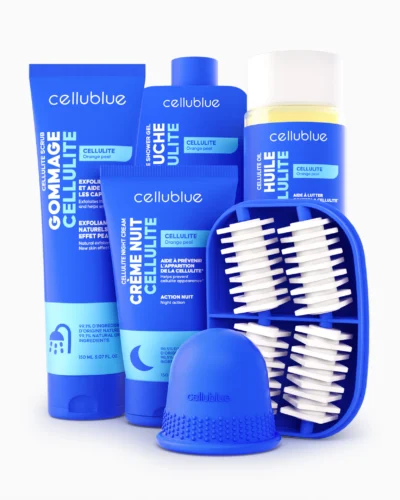
You’re no doubt familiar with the pinch-and-roll technique, THE anti-cellulite massage par excellence. It’s perfectly possible to use the pinch-and-roll technique for self-massage, and it’s even easier when you have our Anti-Cellulite Cupping Cup. It is performed on skin that has been oiled beforehand, as with most massages.
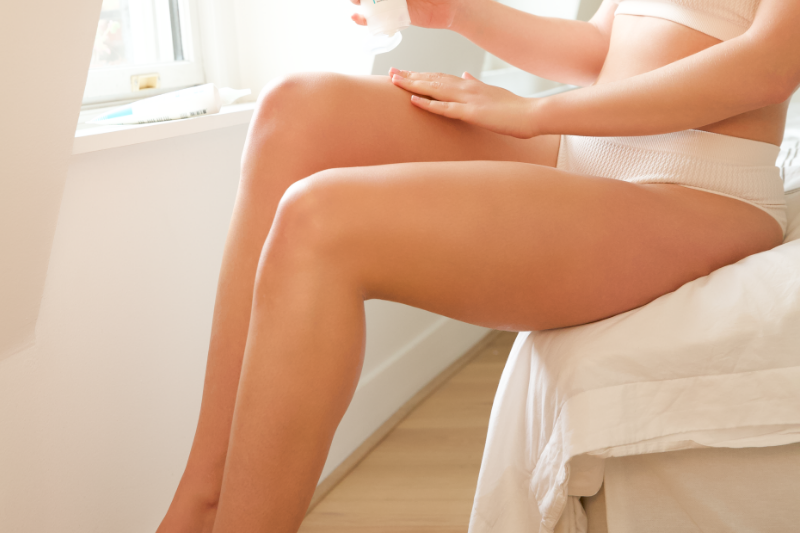
- Apply our Anti-Cellulite Oil to your thighs.
- Take the cup and pinch it between your fingers, then place it on your skin. The cup will draw up a fold of skin. The more you pinch, the stronger the suction. If you’re a beginner, start with light suction.
- Glide the cup over the skin, then release it by letting go of the pressure.
- Direction of the massage: start from bottom to top with linear strokes. Then continue with zigzags, from the inside outwards, always working upwards from the knee to the hip. Finally, finish with circular movements, always from bottom to top.
6 treatments combined in one anti-cellulite routine
- Instructions for use
- Friendly advice
Frequently asked questions
Do you need any equipment for a leg self-massage?
Your hands are enough for most of the movements: foot reflexology, ankle stimulation, kneading and smoothing the calf. Two tennis balls let you massage the arch of the foot. A cupping cup makes the pinch-and-roll on the thighs easier, to be done on oiled skin.
Should you apply oil before massaging your legs?
For the pinch-and-roll on the thighs, yes: like most massages, it is performed on skin that has been oiled beforehand, which lets the cup glide. For fingertip presses on the feet or around the ankle, oil isn’t essential.
What should I do if my legs hurt or often swell?
These self-massages are wellbeing techniques and are no substitute for medical advice. If you experience pain or unusual swelling, or if you are pregnant, ask a doctor or healthcare professional for advice before massaging your legs.
Related articles
- Tennis and cellulite: does it really help?
- Water retention and food supplements: what you should know
Useful categories: Anti-Cellulite Massages, Anti-Cellulite Solutions.