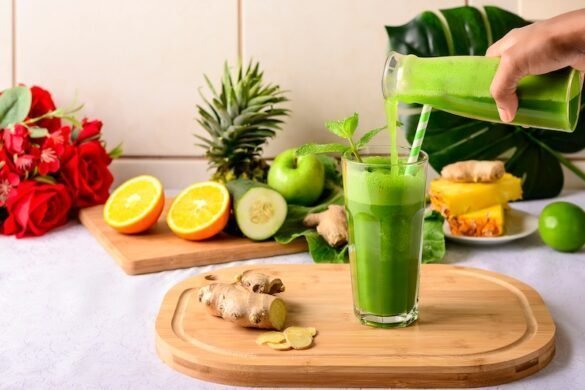
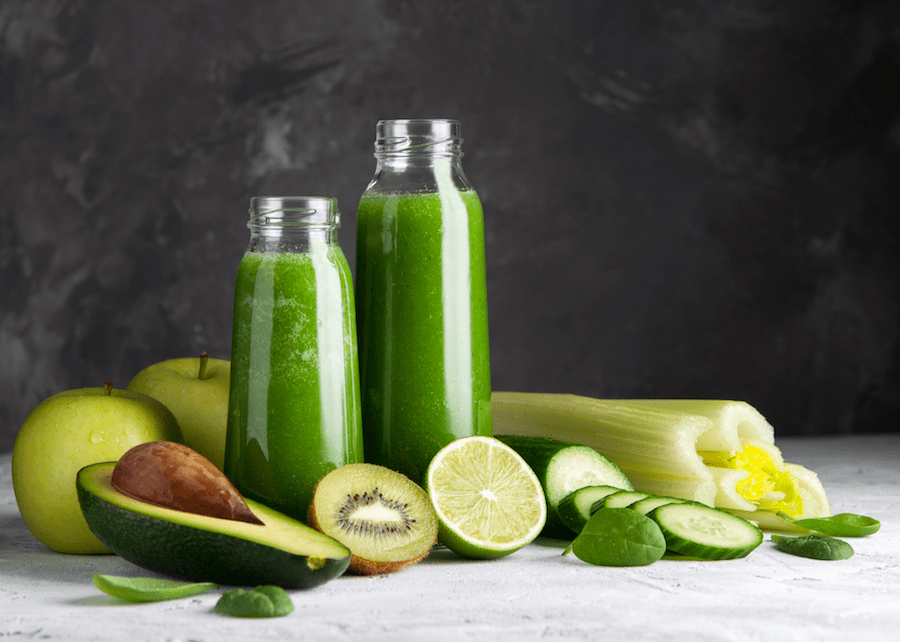
Smoothies, we know them. Fruit juices, we know those too, but green juices, do they ring a bell? Imported from Asia, these green drinks made from fruit and vegetables are a tasty way to enjoy more of them every day, and they fit nicely into a varied diet. Find out what goes into them and why they’re worth a try, then have a go at our 2 homemade green juice recipes!
What are green juices?
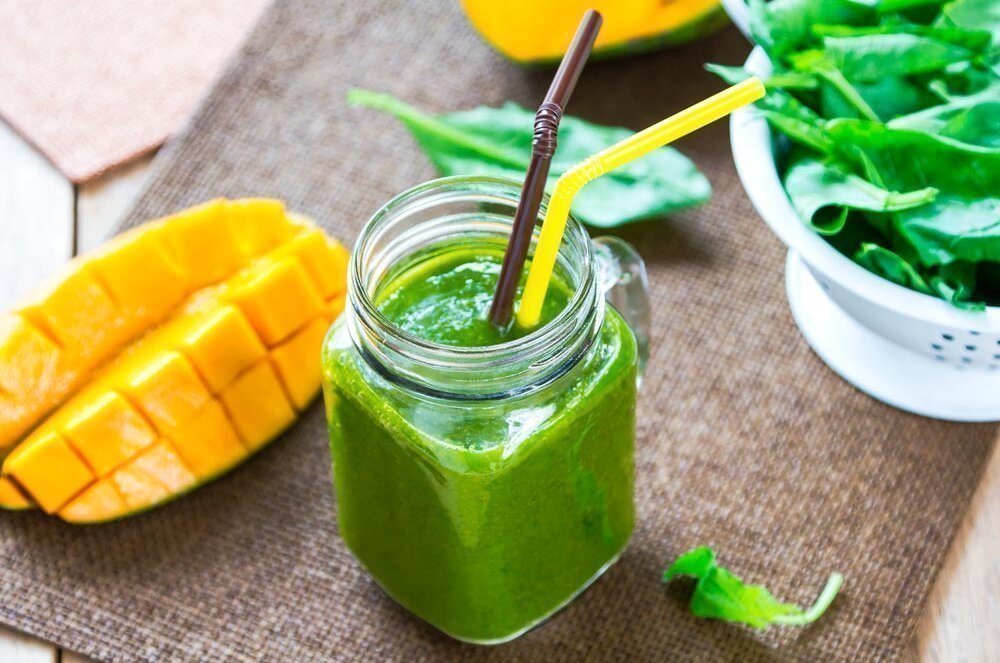
Green juices are fruit and vegetable juices that typically include a vegetable (spinach, carrot, courgette, cucumber…), a cruciferous vegetable (cabbage, turnip, broccoli, radish…), and one or more fruits (usually pears or apples to soften the flavour of the vegetables). You can also add spices, herbs, or aromatics. To make green juices at home, a cold-press juicer is the way to go. Ready-made versions are available in supermarkets and health food stores, but if you go that route, always check the label to make sure there are no chemical additives or added sugars!
Why try green juices?
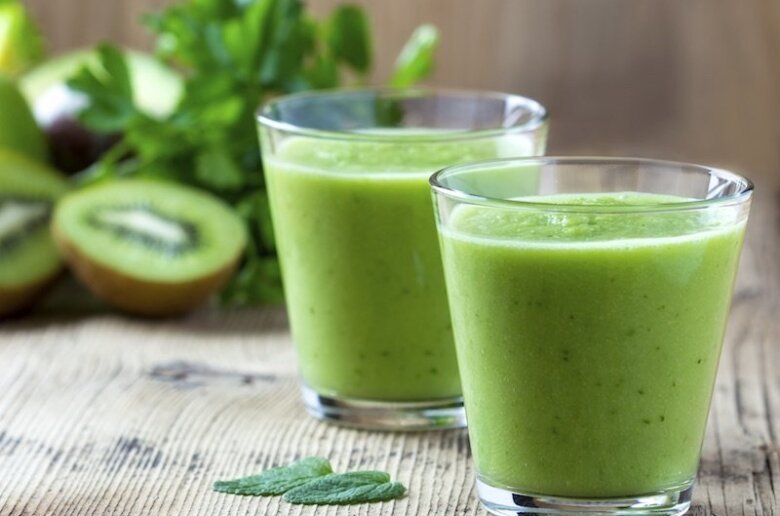
Green juices are a great option for those who don’t particularly enjoy eating vegetables in the traditional way. They’re also a simple means of boosting your daily fruit and vegetable intake. Here are the main reasons to try green juices:
They contain fibre: some of it stays in the juicer, but the juice keeps a little. Fibre has its place in a healthy, balanced diet.
They contain antioxidants: fruit and vegetables naturally provide them, such as vitamin C and certain polyphenols.
They are packed with vitamins: vitamins play a vital role in how our bodies function and come from a healthy, balanced diet.
They add to your daily water intake, thanks to the water found in fruit and vegetables: a good way to remember to drink enough every day.
They are low in calories: homemade green juices contain no added sugars and are made exclusively from fruits and vegetables. They can therefore be a smart snack option, light and delicious.
They are raw: green juices are cold-pressed from fresh fruits and vegetables. This preparation method helps limit the loss or degradation of nutrients. Ideally, to make the most of your drink, enjoy it immediately after making it.
Two green juice recipes
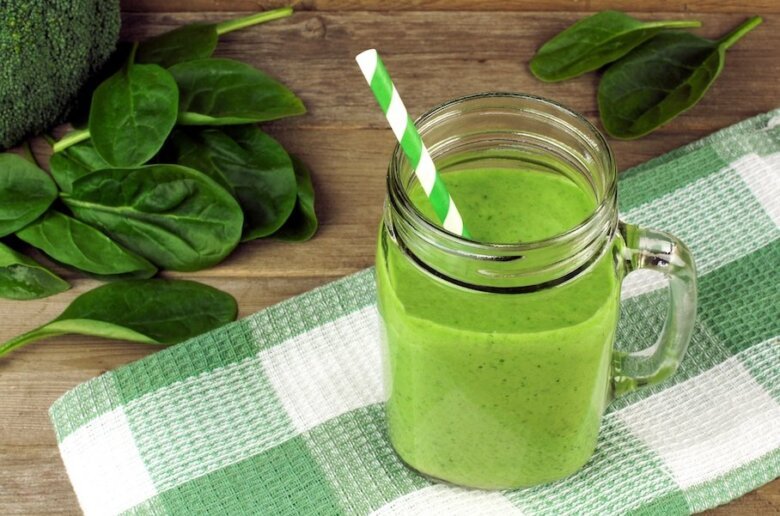
Our tip: whenever possible, choose organic fruits and vegetables. You won’t need to peel them, which means you’ll keep the important nutrients found in the skin.
The classic
We’ve gone with a classic green juice recipe, but don’t be afraid to let your imagination run wild! Mix up the vegetables, switch the fruits, add spices or herbs — find your perfect version of the green juice…
Serves 1
Ingredients
- 1 apple
- 1 small cucumber
- 1 large handful of fresh spinach
- 3 sprigs of parsley
- 1 lemon
Method
- If your fruits and vegetables are not organic, peel them.
- Rinse and chop each ingredient into pieces.
- Place all your fruits and vegetables in the juicer, then strain the juice through a sieve if needed.
Enjoy!
The lemon and ginger green juice
This green juice pairs the zing of lemon and ginger with the lightness of cabbage and courgette. The grapes add natural sweetness and tone down the bitter notes that sometimes put us off vegetables. The result? A fresh, light drink to enjoy whenever you like. In short, everything we need!
Serves 1
Ingredients
- 2 lemons
- 10 grapes
- 2cm fresh ginger
- 1 large kale leaf
- ½ courgette
Method
- If your fruits and vegetables are not organic, peel them; otherwise simply rinse them under cold water.
- Chop the cabbage, courgette, and lemons into pieces, then place them in the juicer along with the grapes. Once the juice is extracted, strain it through a sieve if needed.
- Meanwhile, grate the ginger very finely.
- Add the grated ginger to the green juice, stir, and enjoy!
Tip: if you don’t have a juicer, you can blend all the ingredients in a blender and then strain the mixture through a very fine sieve. Collect the juice and enjoy!
Green juices are a wonderful way to add variety and flavour to your drinks, so let’s make them part of our routine right now!
To round off your routine, don’t forget to use our CelluBlue anti-cellulite cups: your go-to allies for massaging areas of cellulite all over your body!
Find them in our 100% Anti-Cellulite pack, which brings together everything you need for a complete massage routine! The pack includes:
=> 2 medical-grade silicone anti-cellulite cups for performing the pinch-and-roll massage: 1 size L cup + 1 size S cup.
=> 1 Orange Peel Massager to knead the skin using two medical-grade silicone roller heads that complement the action of the cup.
=> 2 Monoi-scented Massage Oils specially formulated for the pinch-and-roll technique.
=> 1 Bye-Bye Cellulite coaching guide in PDF format to support you every day, with menu ideas, at-home workout routines, and expert tips for getting the most out of your CelluBlue anti-cellulite cup massage sessions.
=> 1 BodyMeter tape measure to track your measurements.
=> 1 mobile app to guide and track your massage sessions.
Related articles
- July fruits and vegetables: what you need to know
- Vegan Dishes: Best Light & Tasty Recipes
- Oats: composition, uses and recipe ideas
Useful categories: Anti-Cellulite Diet.

The cupping tool that replicates pinching and rolling, 3 minutes per zone
- The professionals' technique, at home: you lift, glide, and release, and the tool grips the skin fold like a manual pinching and rolling
- Soft silicone that fits thighs, buttocks, stomach, and arms
- 3 minutes per zone, every day, always with a massage oil so the tool glides

The scrub that leaves skin smooth and skin texture refined*
*User test on 21 volunteers over 4 weeks, based on participants' feedback.
- Olive & apricot kernels: these natural grains gently sweep away dead skin cells
- Caffeine & monoi scent, so your shower instantly smells like a holiday
- In the shower, two to three times a week, massaging your thighs, bottom and stomach